

The inspiration for my attempt at making an art-deco sconce that is both affordable and easy to install came from, of course the many sconces that came before in the early 20’s and 30’s. Not forgetting that these required either a handy spouse or a licensed electrician to run wires through the walls and who has time or money to go through that? We wanted to offer something that would just hang where you wanted it, use a battery-operated tea light, and perhaps with a color LED and a remote to change the color.
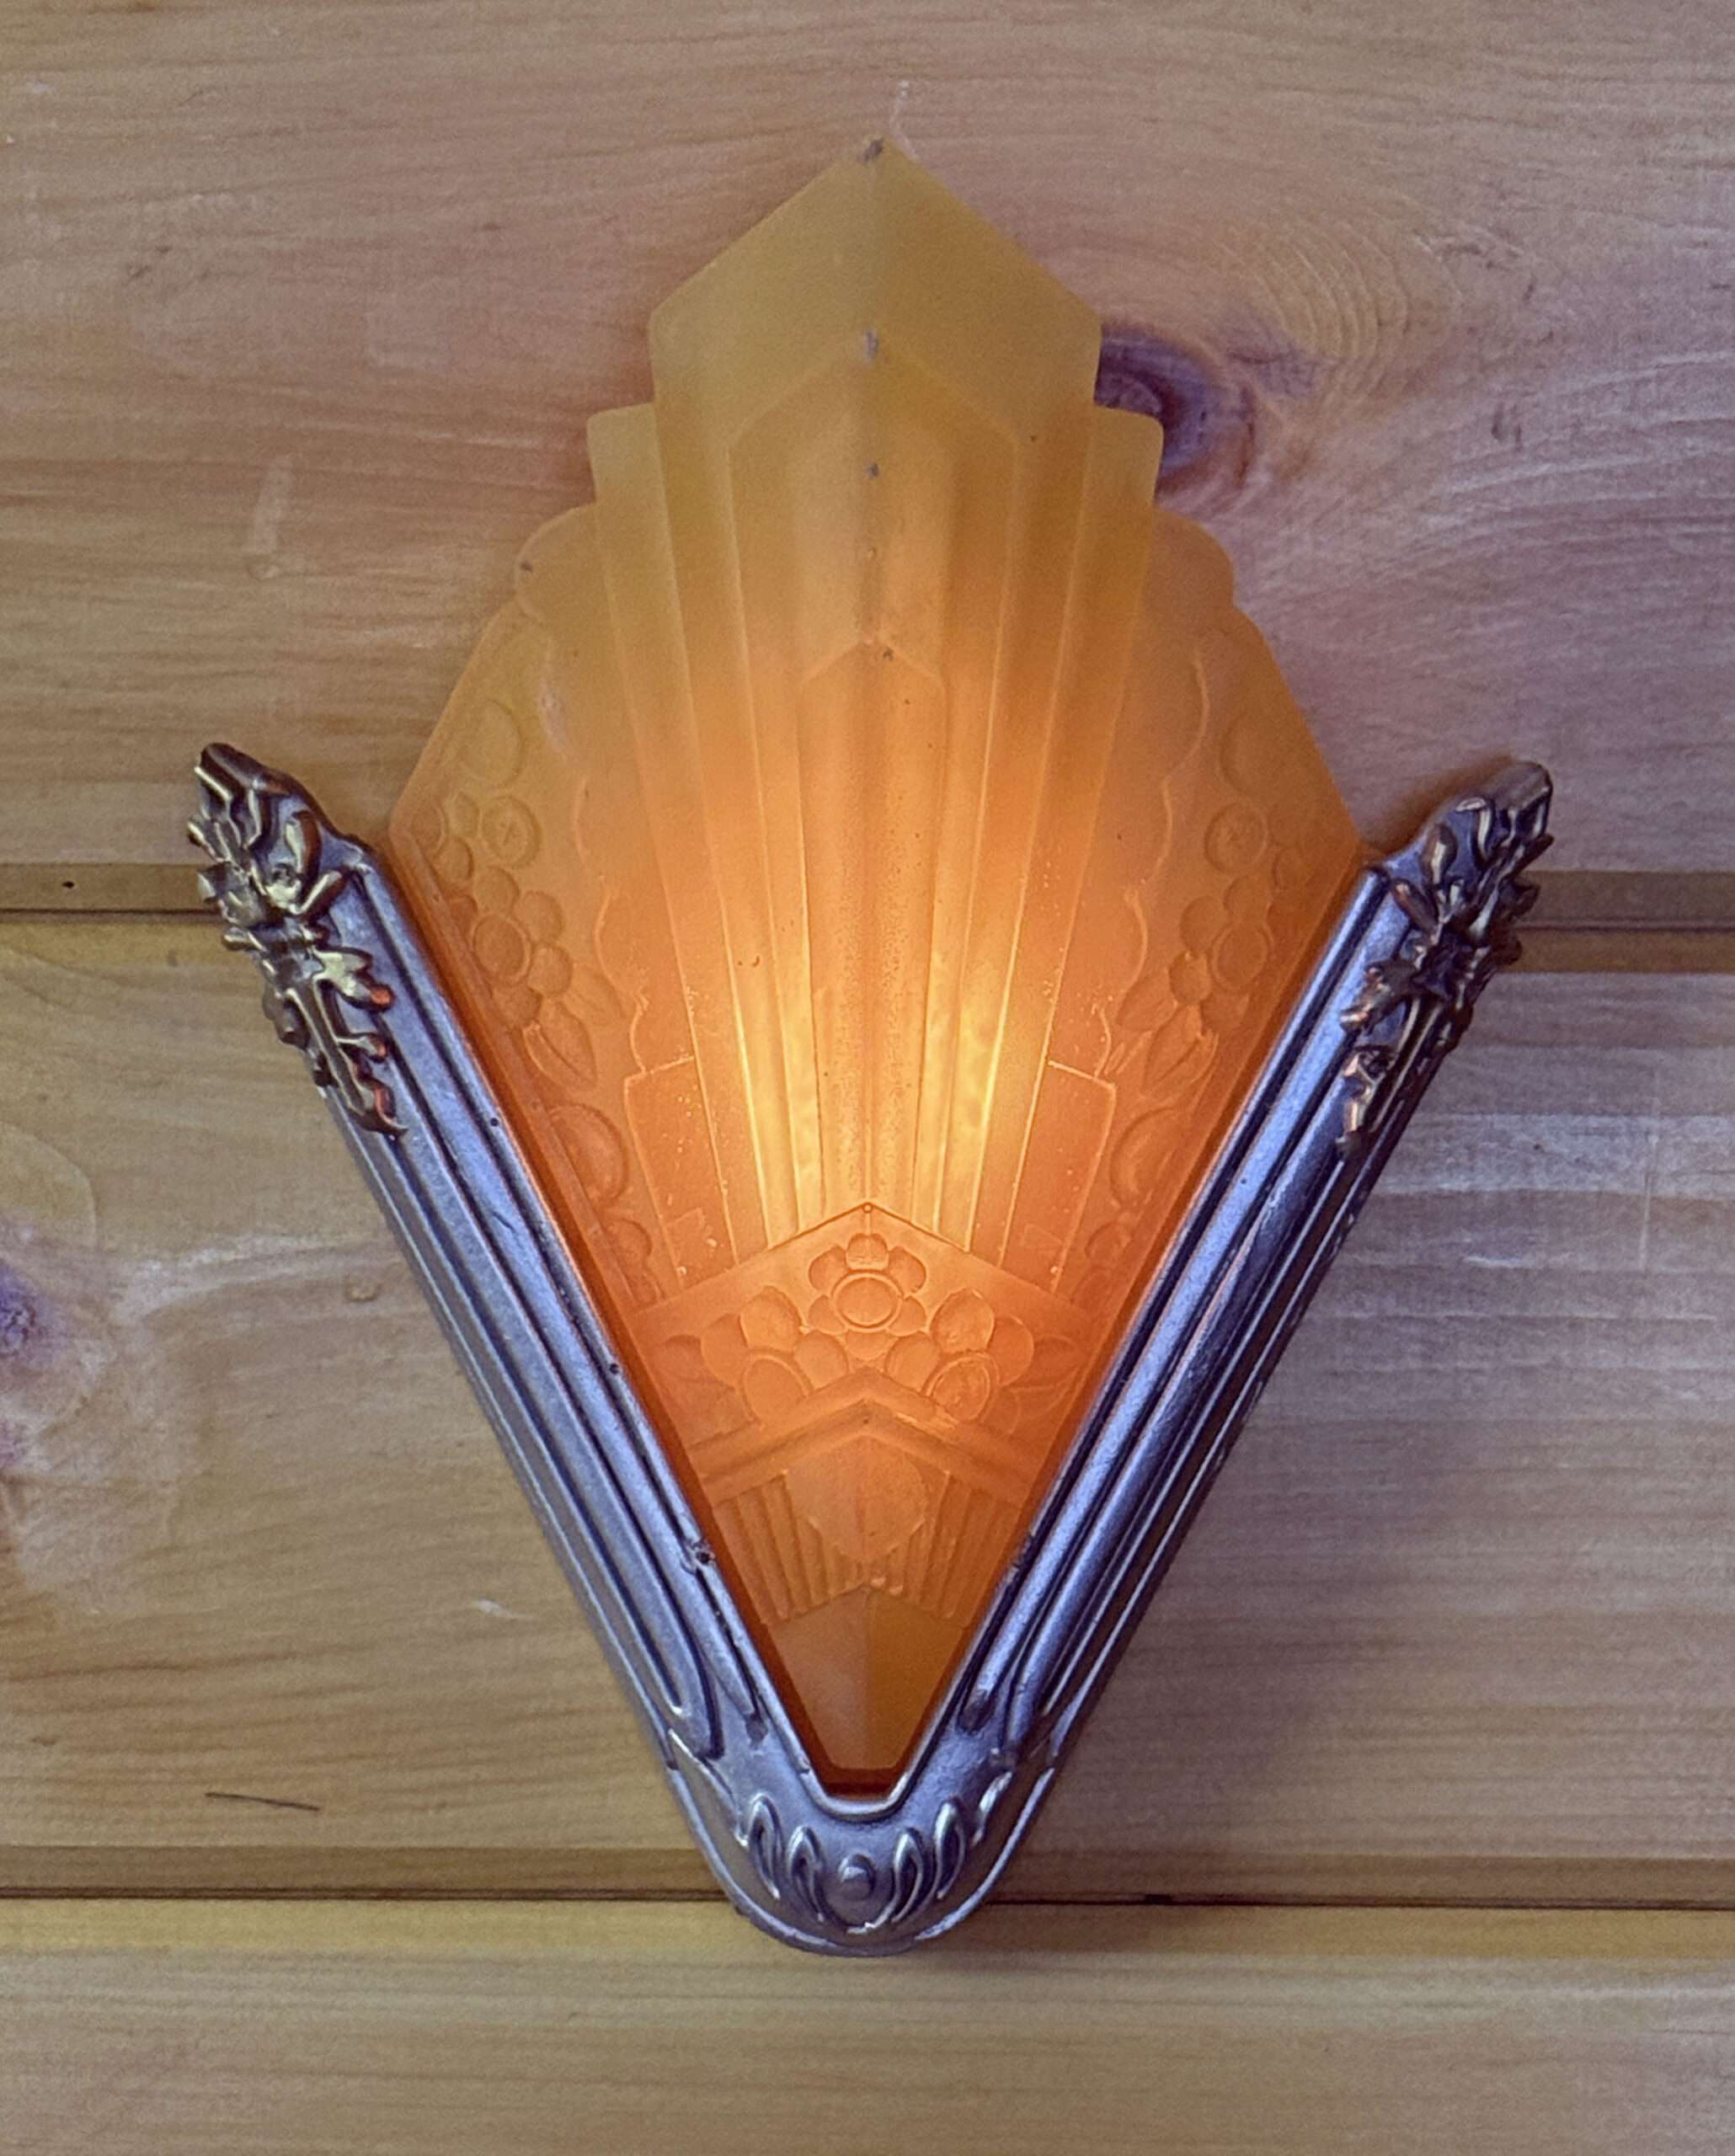
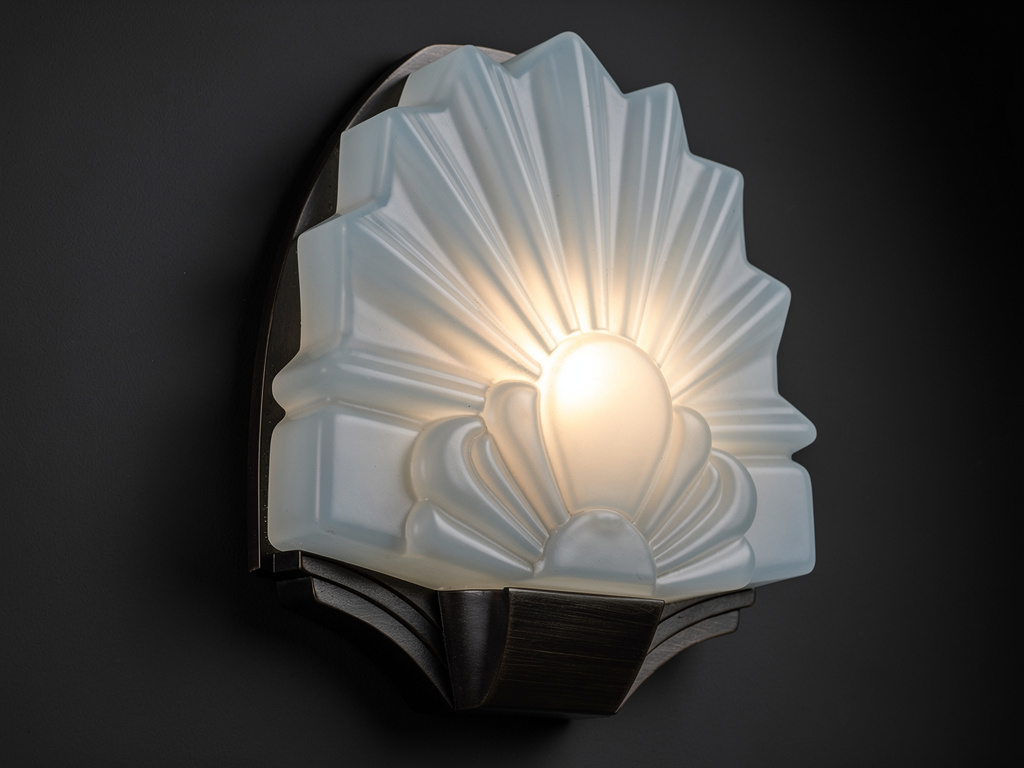
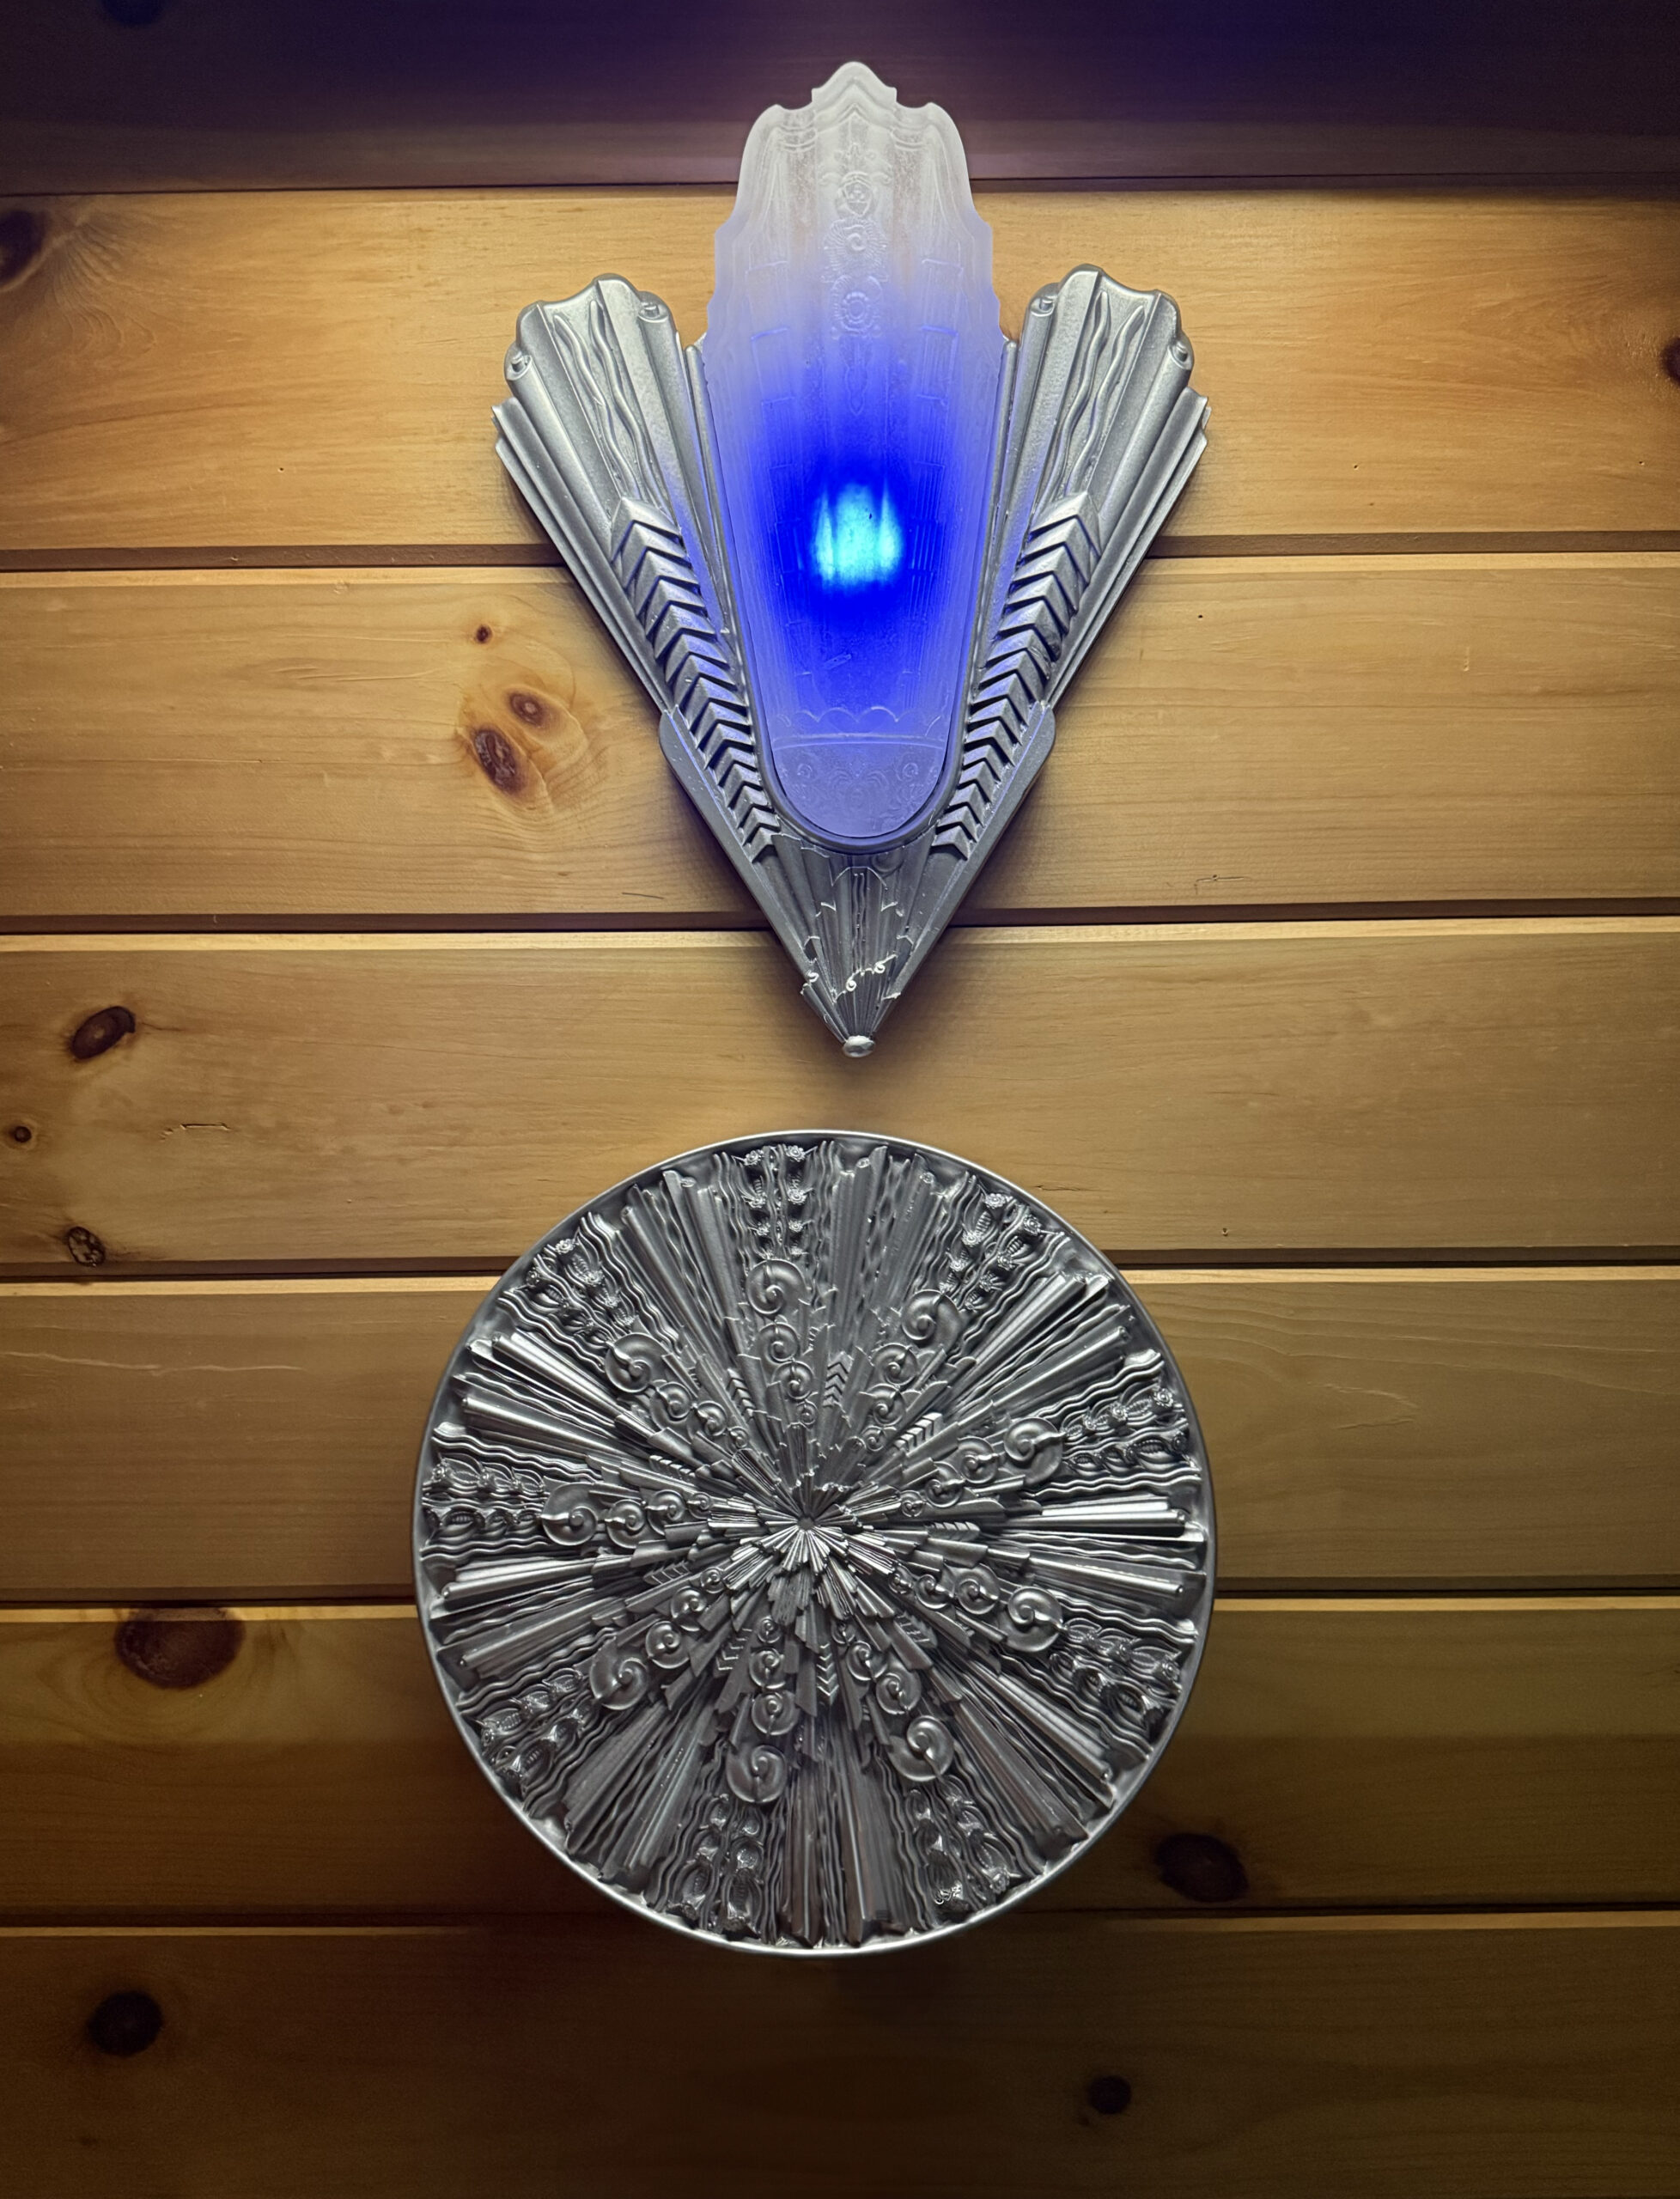
These three antique art-deco sconces became our ‘guiding light’ for choosing forms, patterns and styles for our sconces. The shade fits against a raised, rounded edge channel in front of the tea-light shelf which we don’t see.


Some History
I liked what this company said in their post about art-deco lighting – Here is an excerpt:
” One of the defining features of Art Deco lighting design was its use of new materials and manufacturing techniques. This was made possible by advances in industrial production, such as the widespread use of electric lighting and the availability of new materials like bakelite and chrome. These materials were durable, inexpensive, and easy to shape, making them ideal for use in mass-produced lighting fixtures. Art Deco lighting designs also drew inspiration from the artistic movements that preceded it.”
Antique Hardware Supply.com
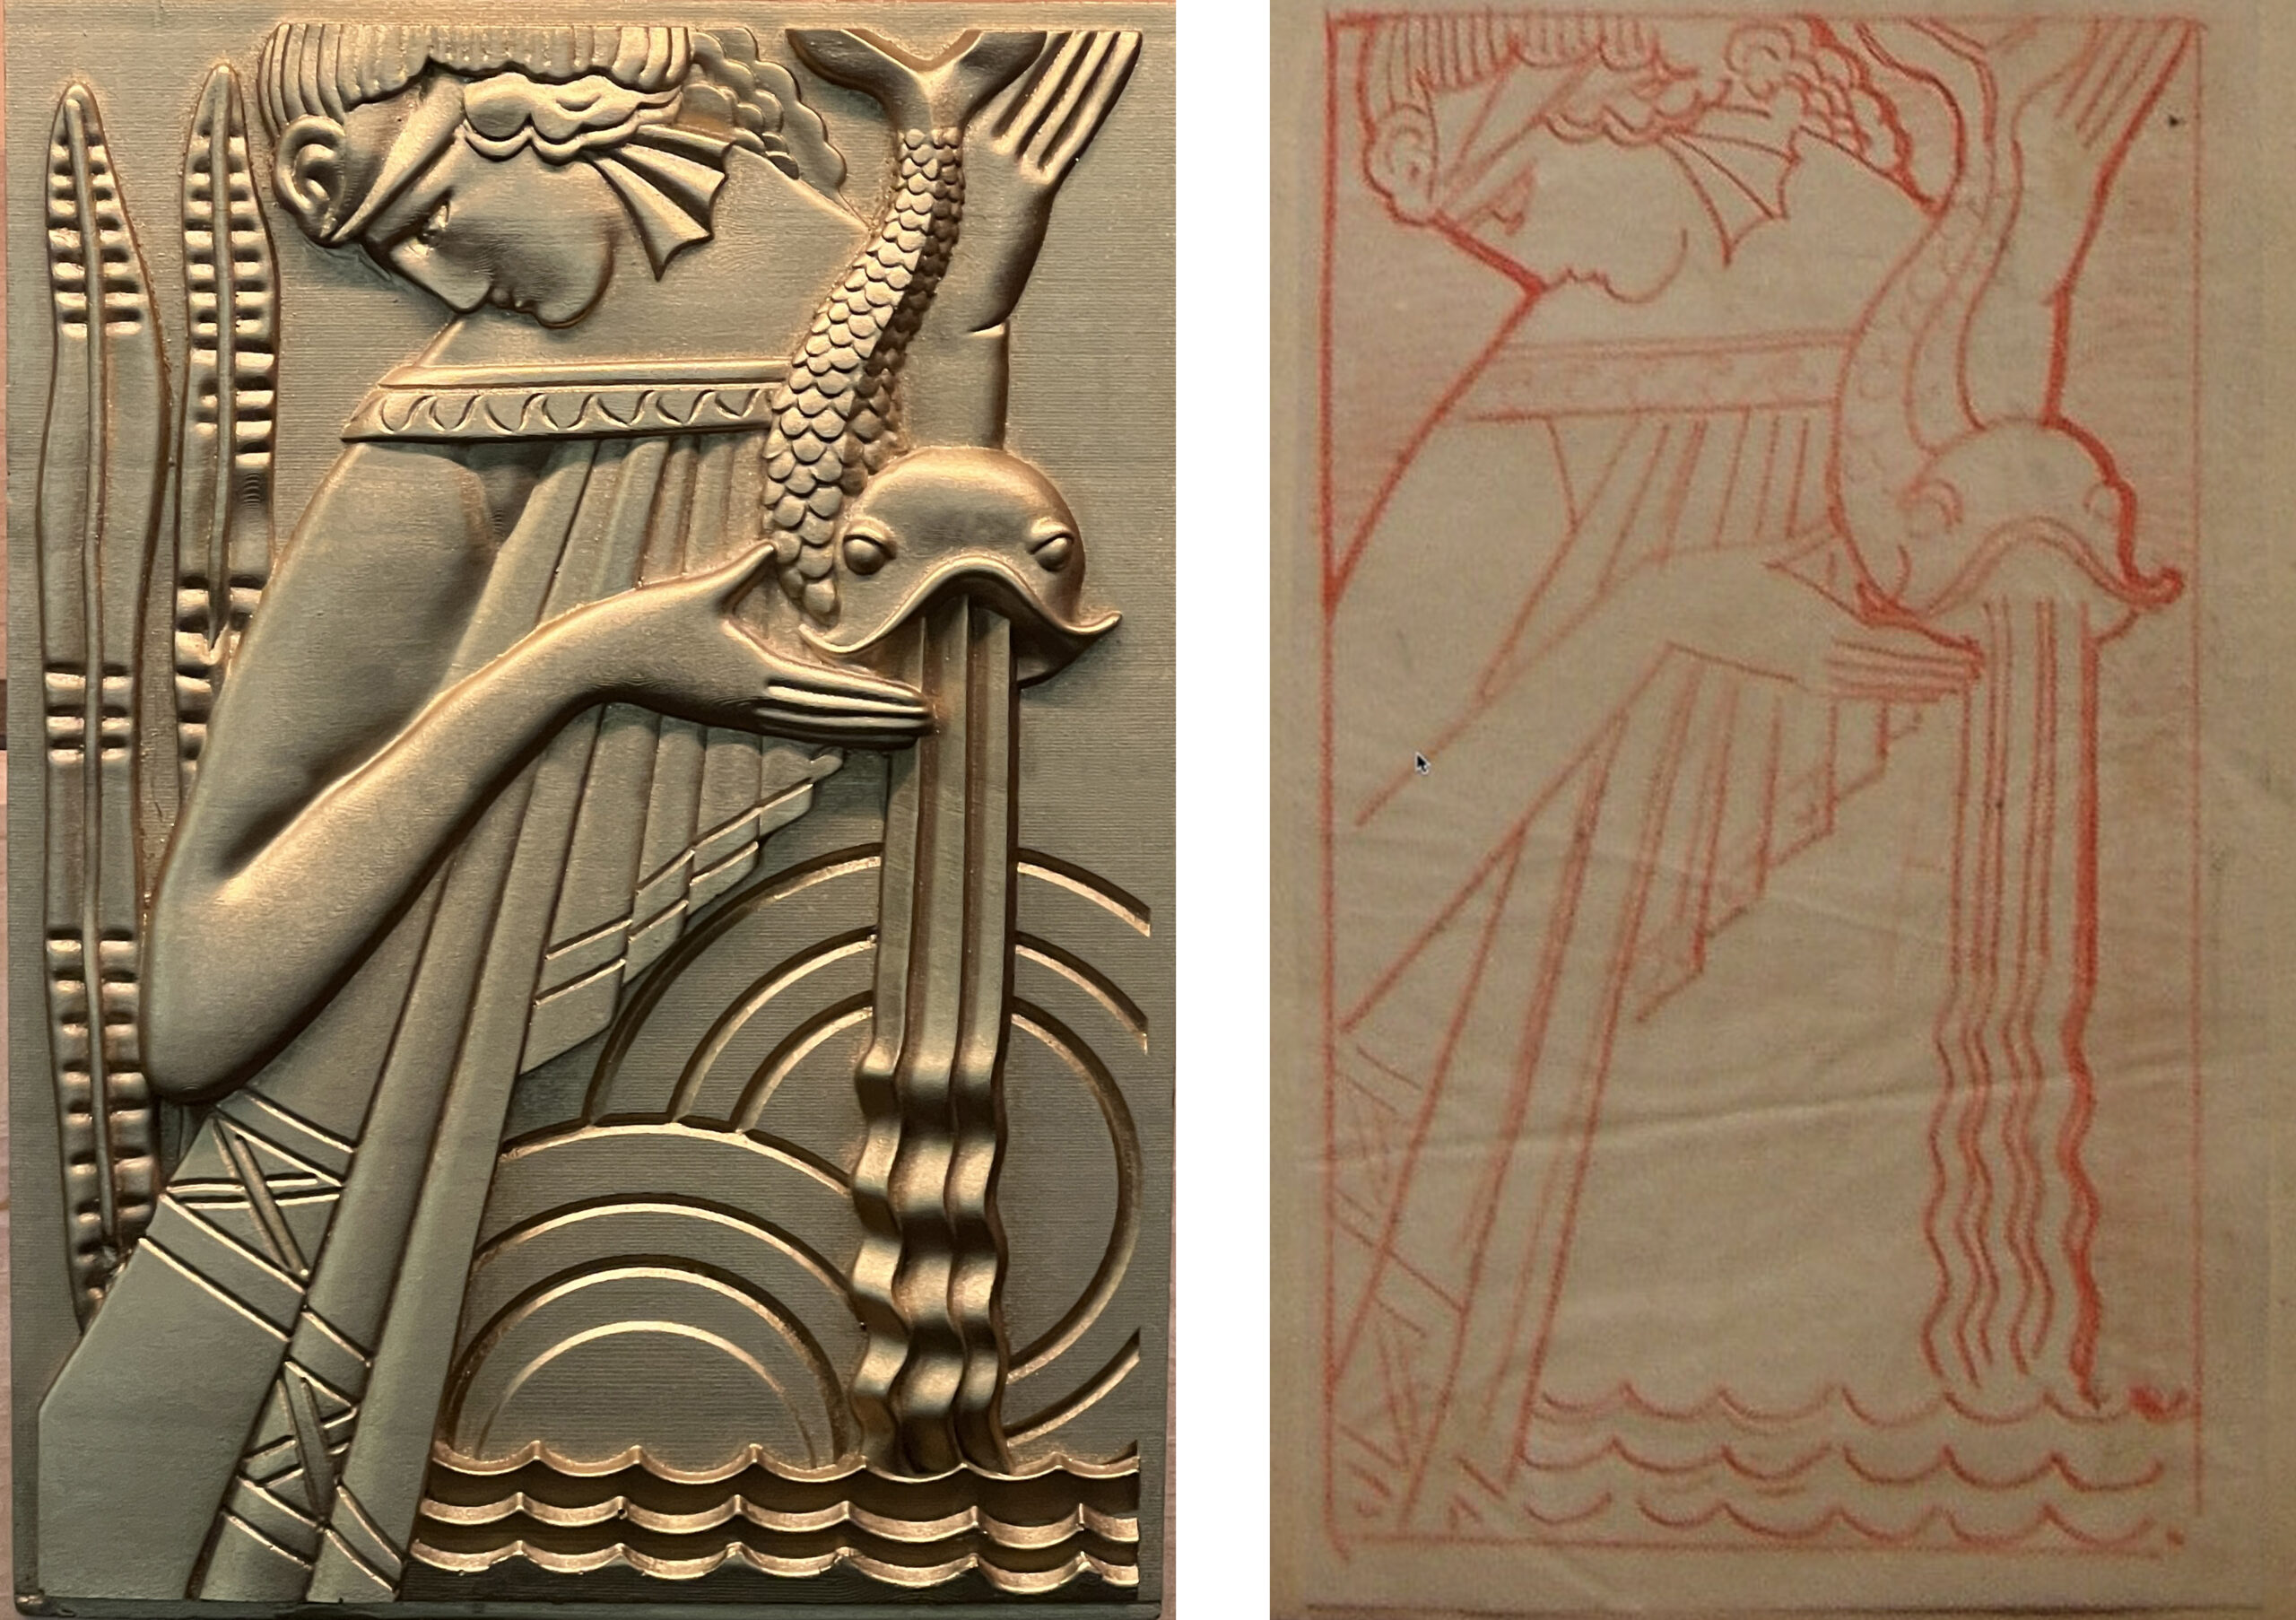
My eye caught some great designs around the internet and from that I was able to synthesize a process whereby I could create a frame that would house the additional shade piece. Here are the four separate pieces in their native form.
Note that the tea-light pedestal is attached under the shade on the frame. The shade will be attached to the frame and is fenced in by the rounded border. There is also the hanging cutout which has a reversed lip to trap the nail or whatever is used to hang the sconce. It works great.
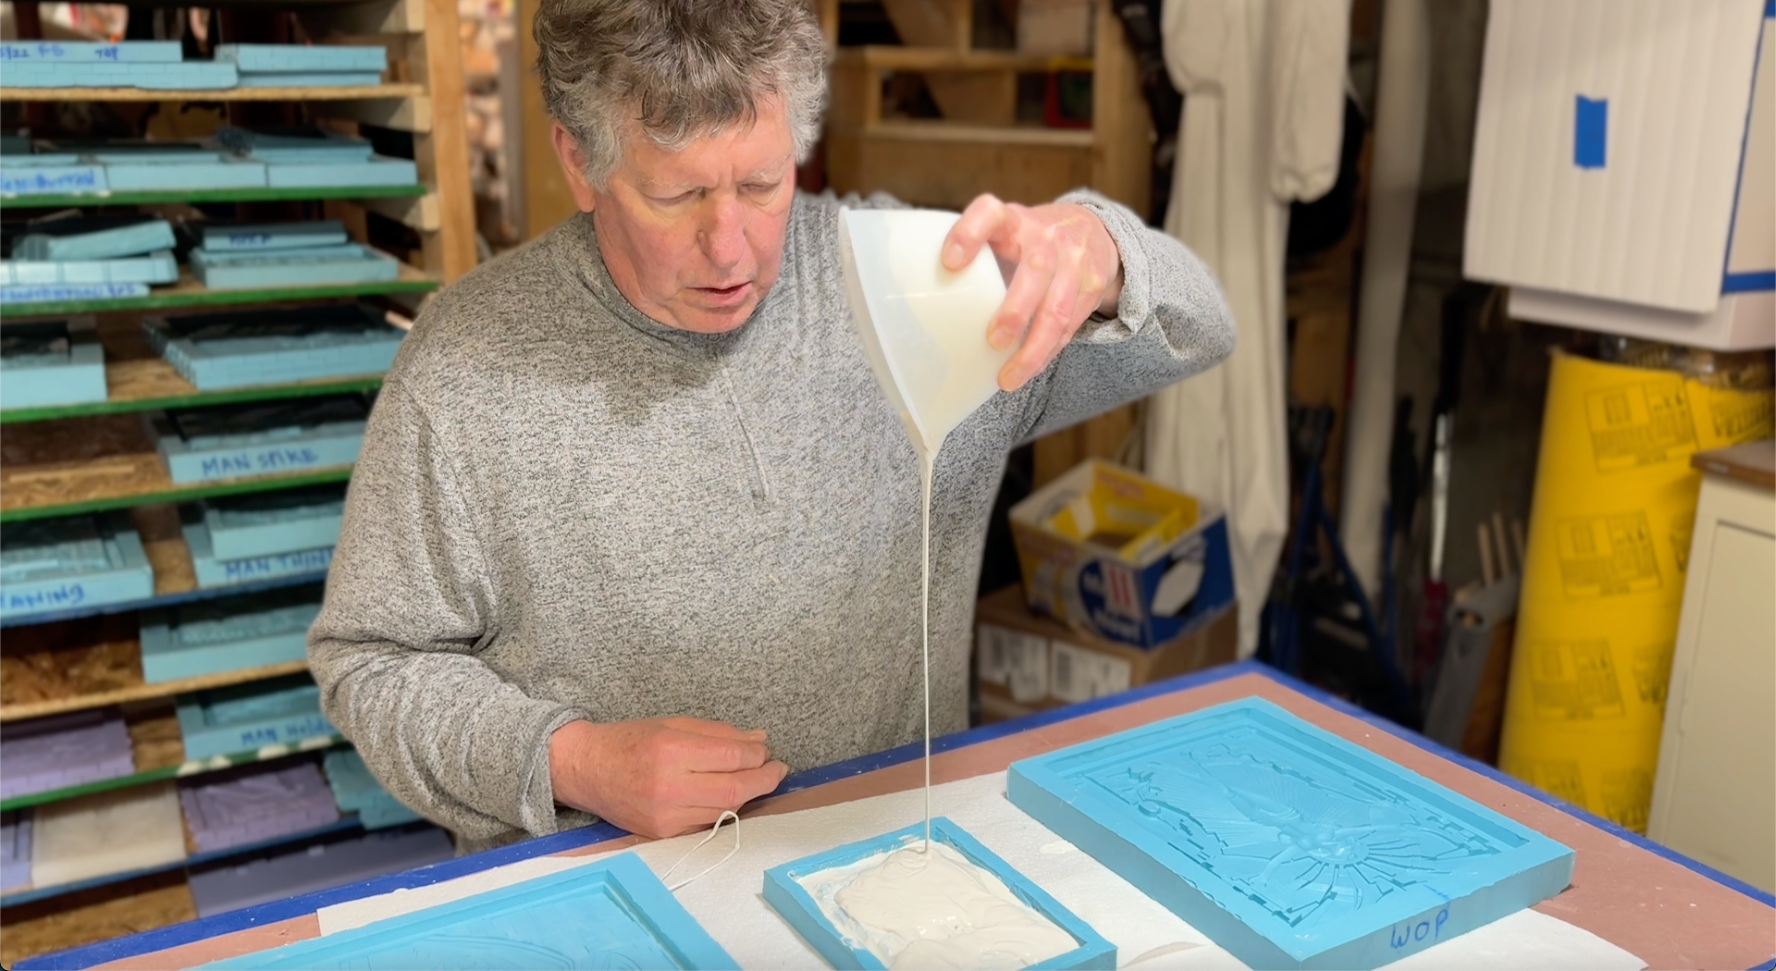
Making the mold for the shade was not simple. It required a ‘squeeze mold’ which if you are a mold-maker, you know what I mean. Suffice it to say, we made a two-piece mold with a top part that gets pushed into a mold already filled with the translucent resin and we watch about 20% of the resin ‘squeeze’ out onto the board we have the mold on. About 3 hours later, we can demold the shade and wait another 24 hours for it to fully harden. We then hit it with spray glass frosting to make it even more opaque, but just enough to let some light through without showing the actual LEDs behind the frame.
The second part of the process is to cast the frame in either plaster or matrix which is hard and strong enough to support the frame once they are all attached together. The nouveau-ish frame gets primed in black and then gilder’s wax top-coated. The Wiltern frame is just done in the chosen finish with either a silver or gold undercoat and the gilder top coat. Not forgetting the pedestal, we cast that from whatever material was used for the frame and affix it all together.


Either sconce frame may be finished in silver or gold. We hope to introduce more sconces in the near future as it is a very pleasing project. People like them and they are simple to install and very affordable. Let us know in the comments if you have a specific design or motif you would like to see in a new sconce and we will consider making it.